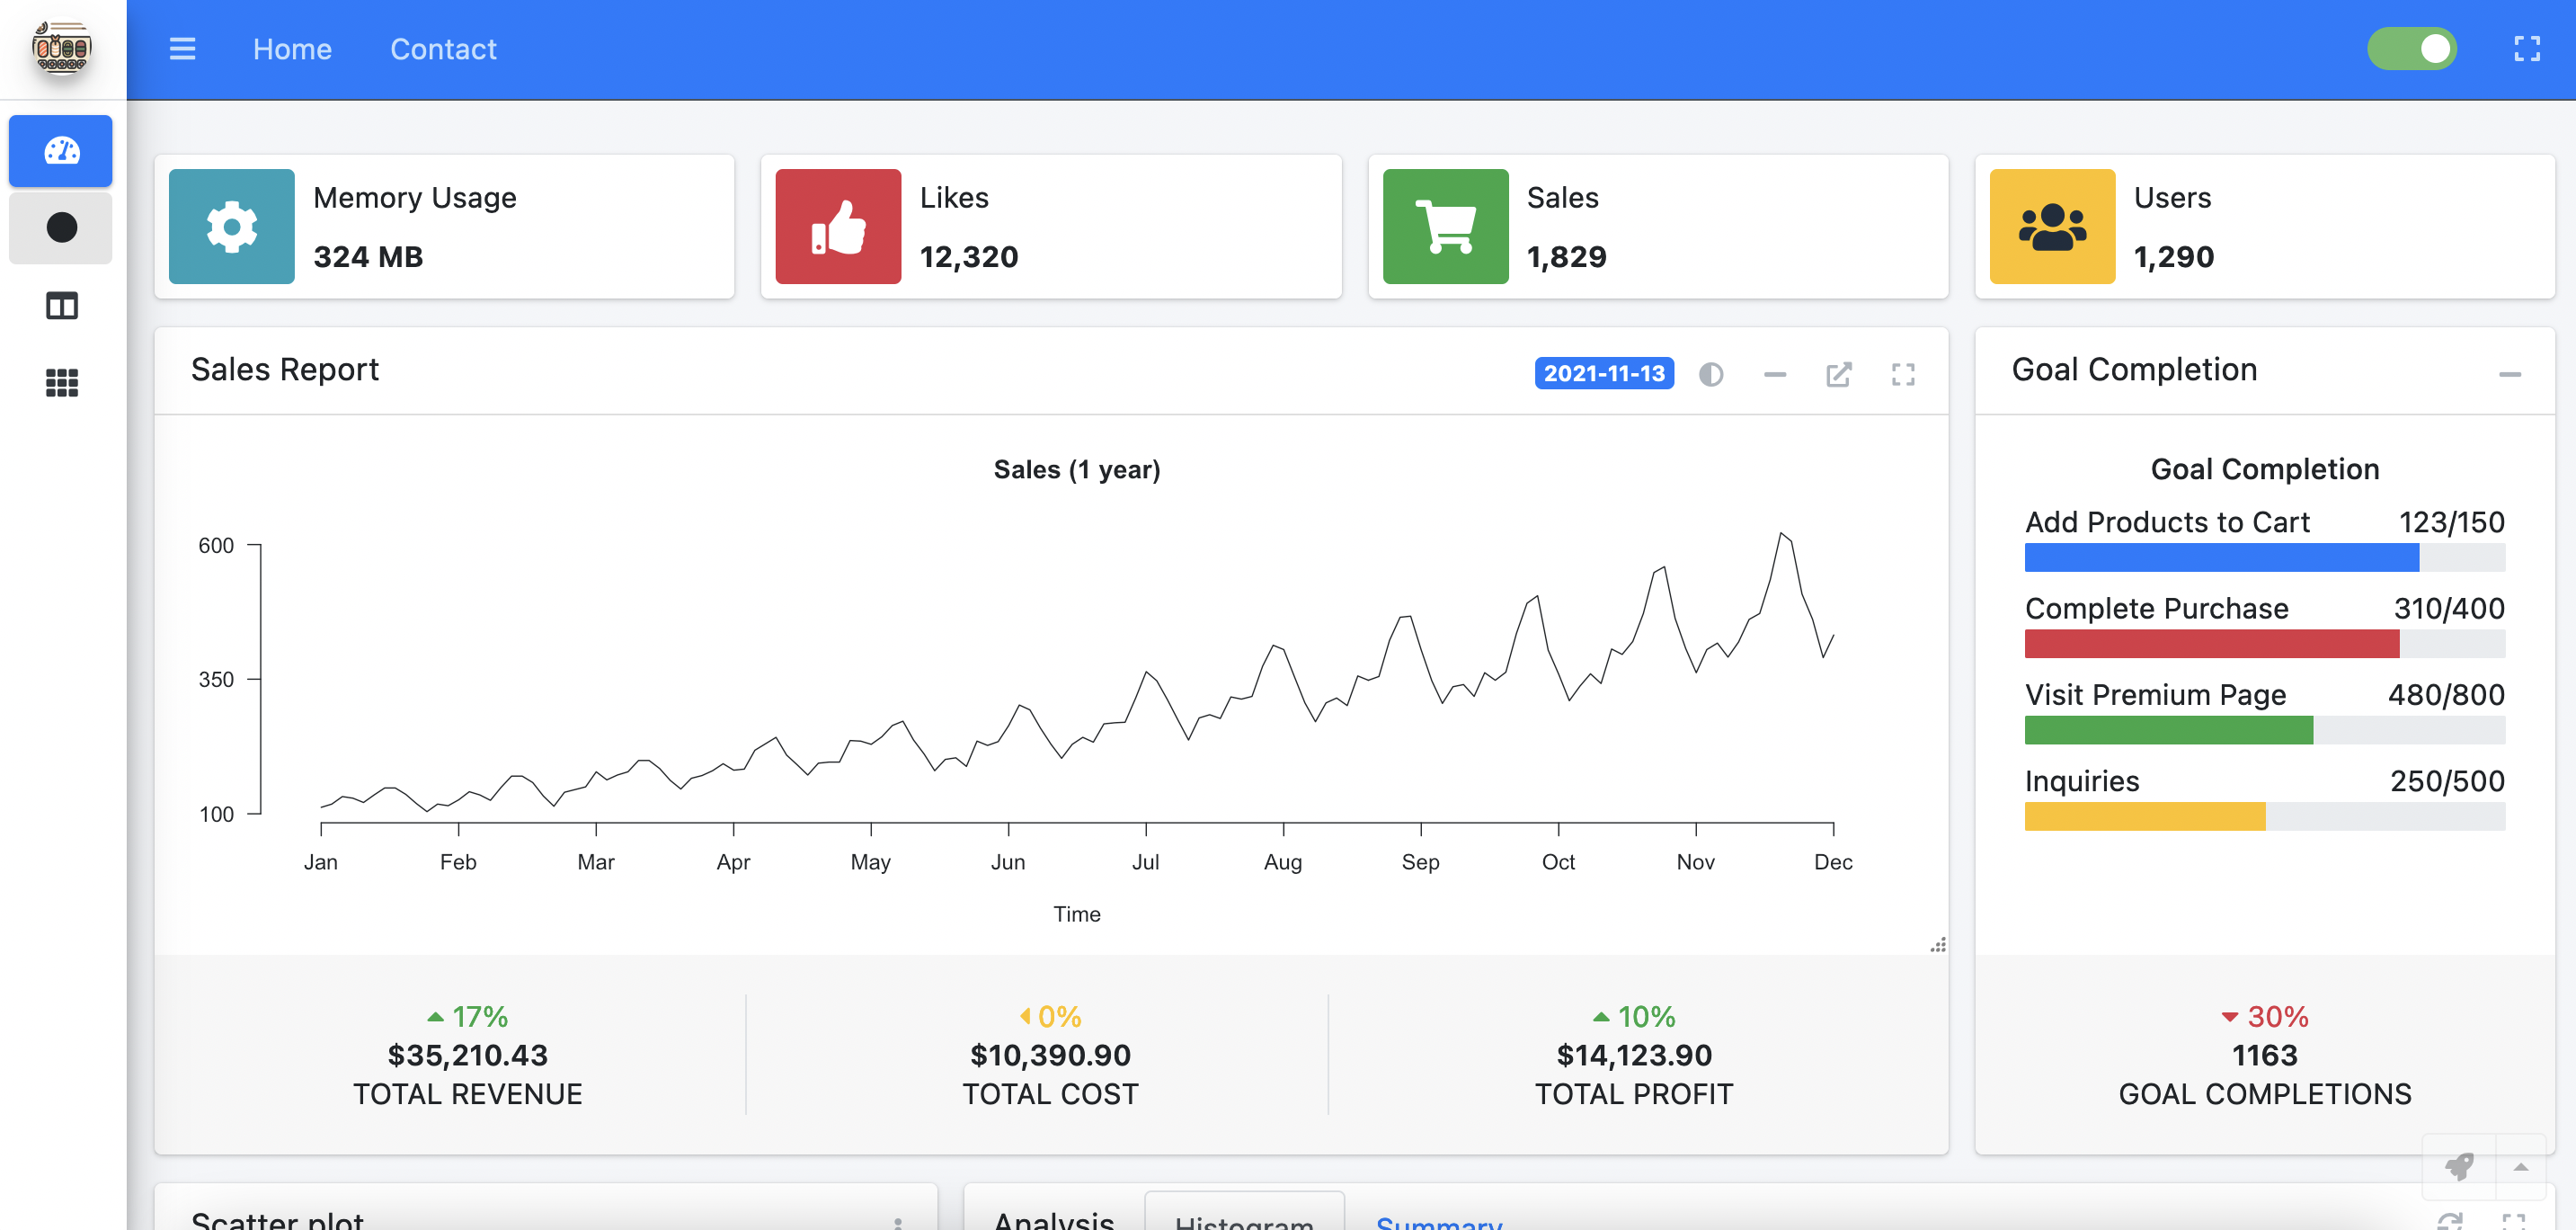
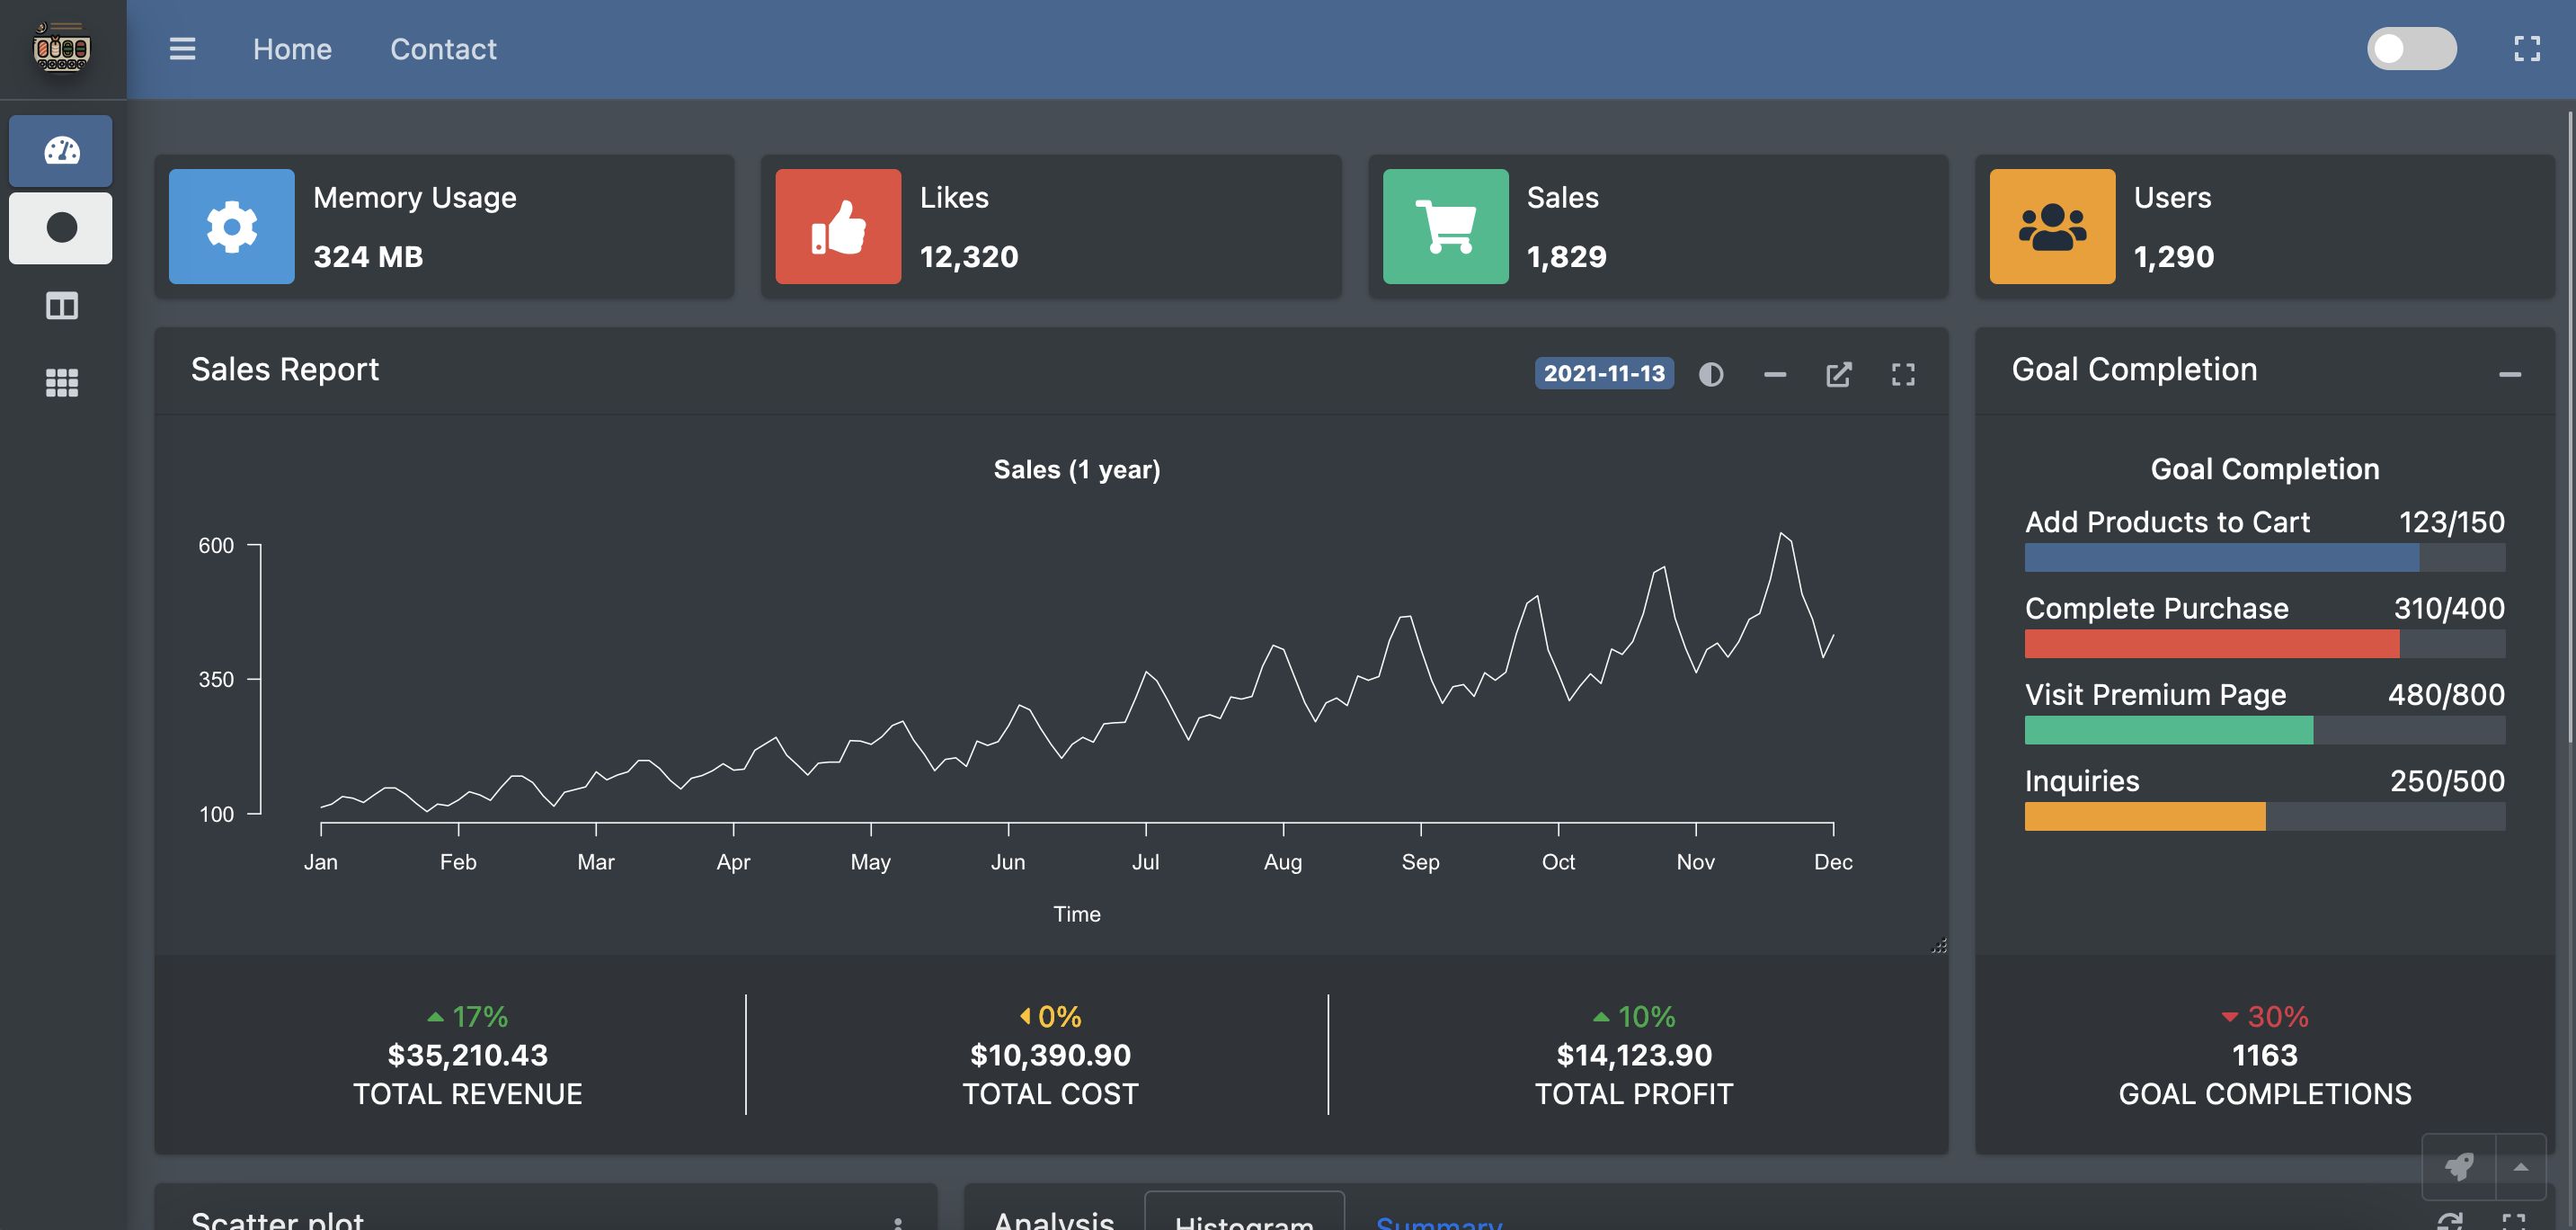
The goal of shidashi is to provide framework for R-shiny templates, especially for dashboard applications.


Default template (using AdminLTE) provides two themes: light vs dark
You can install the released version of shidashi from CRAN with:
install.packages("shidashi")The demo app requires to install the following extra packages
install.packages(c("ggExtra", "rmarkdown"))Once you have installed these packages, run the following command from R:
library(shidashi)
project <- file.path(tools::R_user_dir('shidashi', which = "data"), "AdminLTE3")

# `use_template` only needs to be called once
use_template(project)
render(project)To start a shidashi project, open RStudio
menu from the navigation bar:
File > New Project… > New Directory > Shidashi Shiny Template (*)
_*You might need to scroll down to find that template option_.
Please enter the project information accordingly. By default, the
Github user is dipterix, and theme is
AdminLTE3, which lead to the
default template.
If you want to start from a bare-bone template, change the
theme option to be AdminLTE3-bare.
A typical shidashi project has the following file
structure:
<project root_path>
├─modules/
│ └─<module ID>           - Module folder; folder name is module ID
│   ├─R                   - Module functions shared across UI and server
│   ├─module-ui.html      - Module HTML template
│   └─server.R            - Module-level server function
├─R/                      - Common functions shared across modules
├─views/                  - Small snippets (see `?include_view` function)
├─www/                    - Static files: css, js, img, ...
├─index.html              - Template for homepage
├─modules.yaml            - Module label, order, icon, badge..
└─server.R - Root server function, usually no modification is requiredCreate your own Github repository with name
shidashi-templates. Add folders named by the themes. Then
people can install your themes as templates through
RStudio. An easy start is to fork this
repository.